


Guide to Upgrading your Mac to Run Ventura
Now that Ventura is officially available, you must wonder how to upgrade your system. This article explains everything you need to know about how to install Mac OS Ventura.
Ventura Eligibility
Catalina and Monterey are macOS versions that have maintained compatibility with most Mac models before their respective release dates or within the last decade. But Ventura is compatible with a narrower range of hardware. Fortunately, if your Mac device is built within the last few years, it will work with macOS 13.
If you are using an older Mac, you must ensure to check the eligibility list. There might be a chance your system is incompatible with the new update.
Don’t know what Mac model you have? Click the Apple icon > click About This Mac to find out what model you have.
The Macs that are compatible with Ventura are:
- MacBook Pro (2017 and newer)
- MacBook Air (2018 and newer)
- iMac (2017 and newer)
- Mac Mini (2018 and newer)
- iMac Pro (2017)
- MacBook (2017 and newer)
- Mac Pro (2019 and newer)
- Mac Studio (2022)
Ventura Features
Apple’s macOS Ventura comes with various features that promise to add productivity and convenience. Some of the major upgrades are:
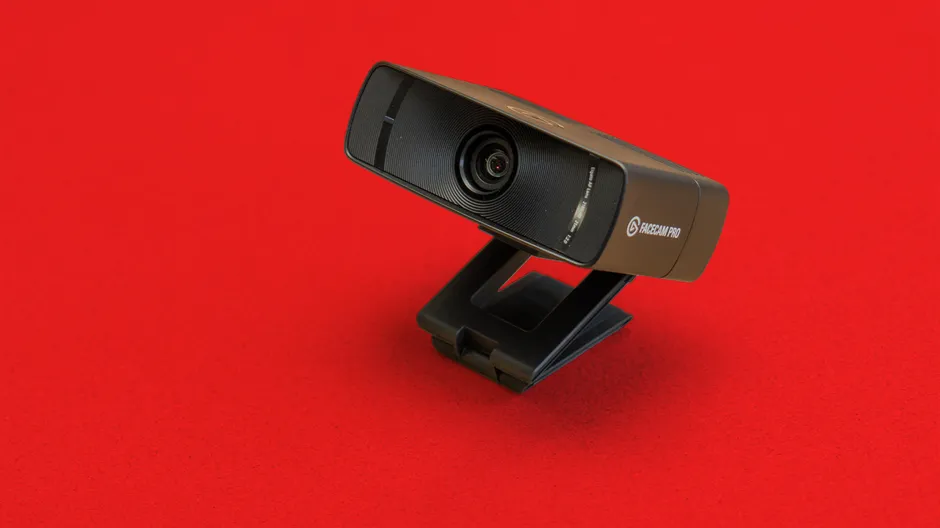
- Continuity Camera – use iPhone’s camera
iPhones, iPads, and Macs already work excellently together, and with Ventura, you can take this feature by linking these devices more closely. For example, Continuity Camera is a feature that allows users to use iPhone’s camera as a webcam for their Mac.
The feature is simple to use. First, ensure your Bluetooth and Wi-Fi are enabled on both devices and signed in using the same Apple ID.
Next, launch FaceTime and bring your phone close to your Mac. The first time you use the feature, you will be asked if you want to use your phone as a webcam. After that, it will work automatically.
Go to the Control Center from the menu bar and select Video effects to activate features like Center Stage, Desk View, etc.
- Stage Manager – a new way to organize window
With Stage Manager, Apple has transformed how you manage open windows. This feature displays thumbnails of the open windows and apps in a column to the left or right side of the screen. It makes it easier to switch between them.
You can enable the feature by opening the Control Center and clicking Stage Manager. You can also click the Apple menu > System Settings > Desktop & Dock > Stage Manager to enable the feature.
Within this feature, you can click Customize to change how it works. For instance, whether or not you want Stage Manager to group windows from the same app.
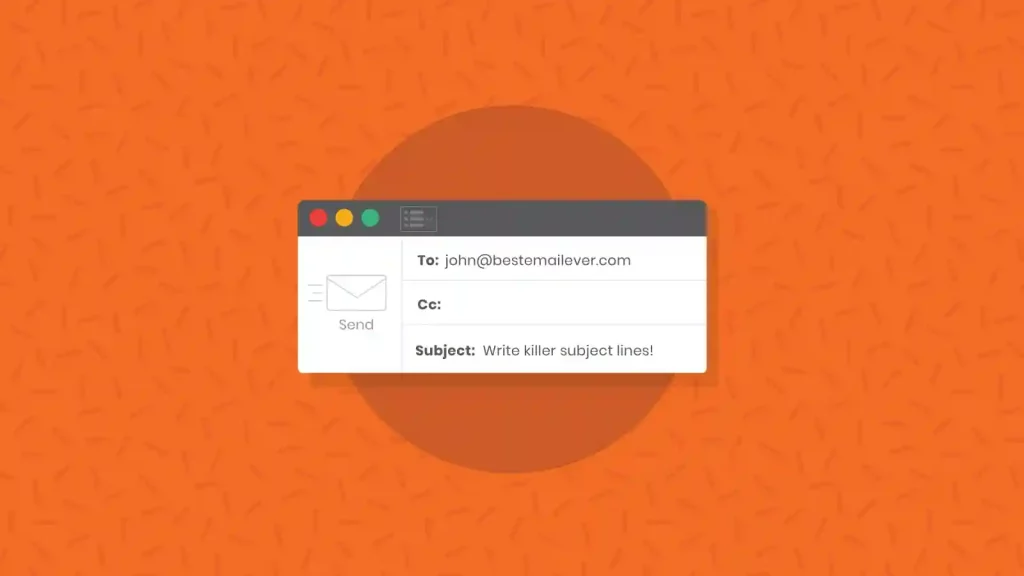
- Mail improvements – schedule/undo emails and more
Apple’s desktop apps also got their share of Ventura upgrades; one of those improvements is the Mail application. One of the enhancements is scheduling emails to be sent later. After you have composed an email, do not click the send icon. Instead, click the small arrow and check the scheduling suggestions. For example, you can schedule the mail for later in the evening or the next day. Then, select Send Later and pick your time and date. However, you must ensure your MacBook system is online at the designated time, or the email will not go out.
Also, you can now undo send an email after clicking the send button.
Steps to Update Ventura
If your system is eligible with Ventura, the next step is to prepare your device for the update. Upgrading to Ventura is a simple process.
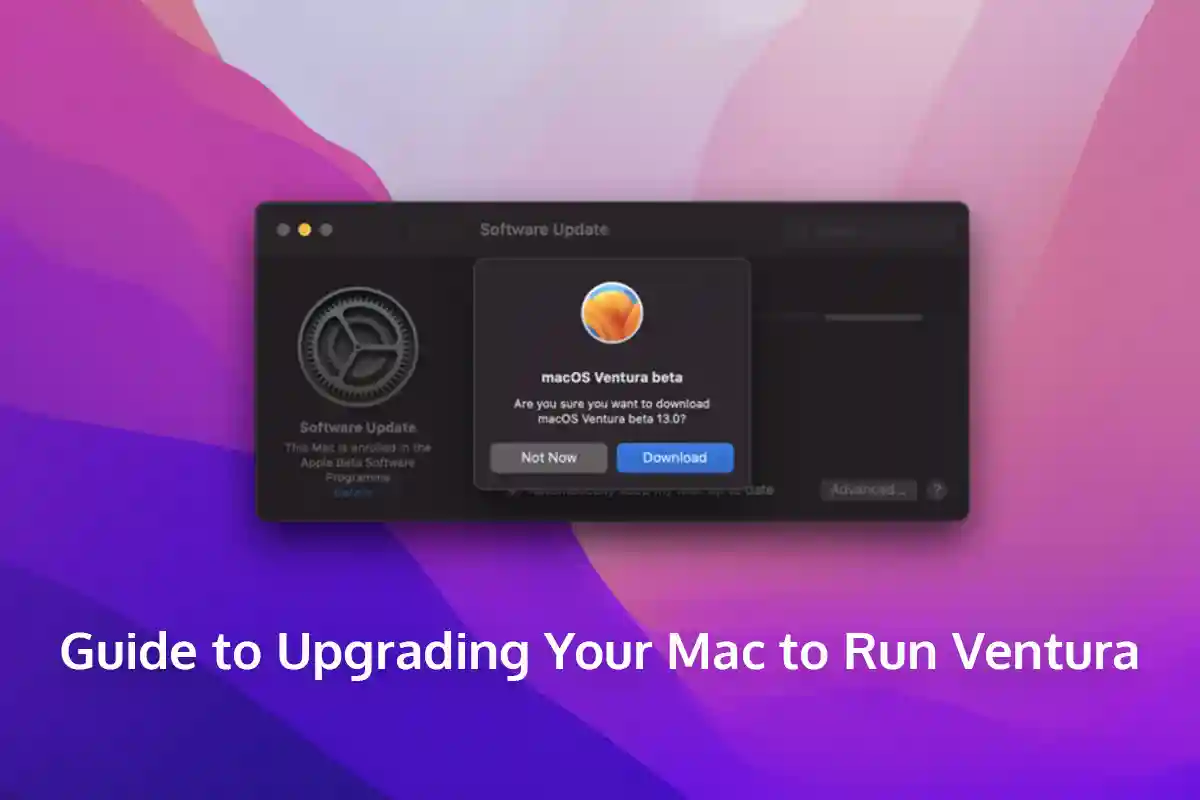
Click the Apple icon > System Preferences > Software Update. Look for the update and click Update Now to start the download. First, you must ensure there’s enough space available. It is recommended to have at least 12.5GB of free space. If you lack storage space, the download process might get interrupted. Alternatively, you can go to the App Store to download macOS Ventura and open the installer.
After the download is complete, click Agree and then Install.
If you are installing macOS 13 on a MacBook, ensure you are plugged into power throughout the process, so your system doesn’t run out of power during installation. If this happens, it might damage your computer.
You may have to enter your password or authenticate using Touch ID. Then, wait for Ventura to install it.
When the process is finished, your device will restart to let the changes take place.
Will you Encounter Any Problems?
After your system is upgraded to Ventura, you may encounter some problems. Such as:
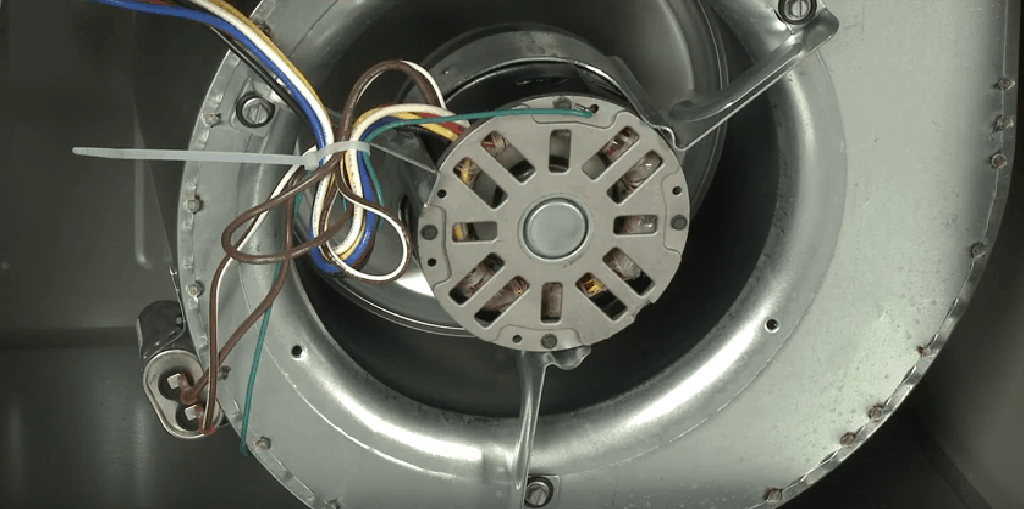
- Loud fan noise
- Excessive battery drainage
- Wi-Fi or Bluetooth not working
- Sluggish performance
- Apps crashing
Most of these problems will resolve themselves after a few hours or a day. It would be best if you gave your system a few hours to get accustomed to Ventura.
So don’t waste another minute upgrading your Mac.