


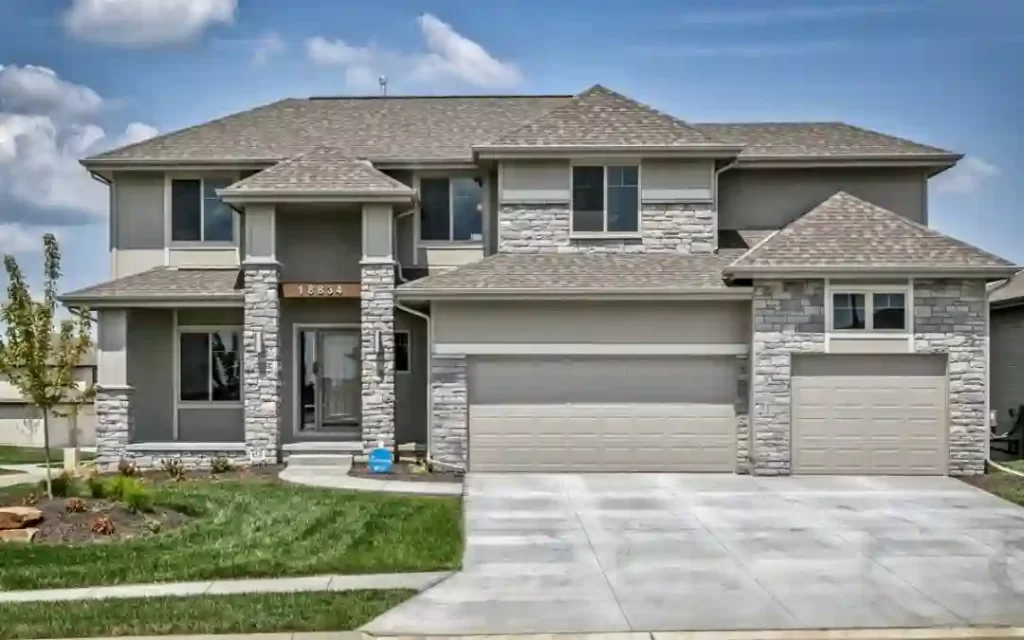


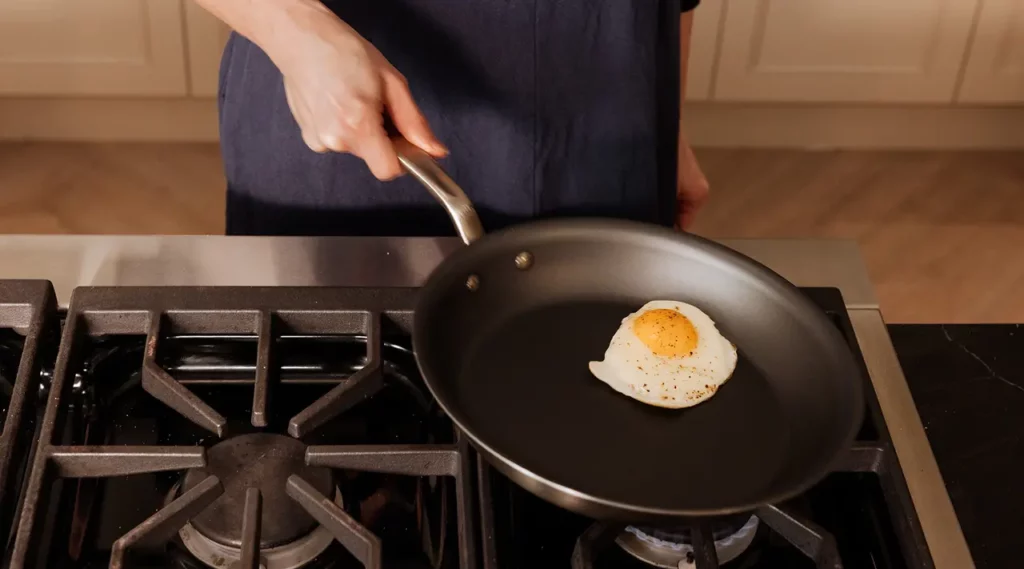


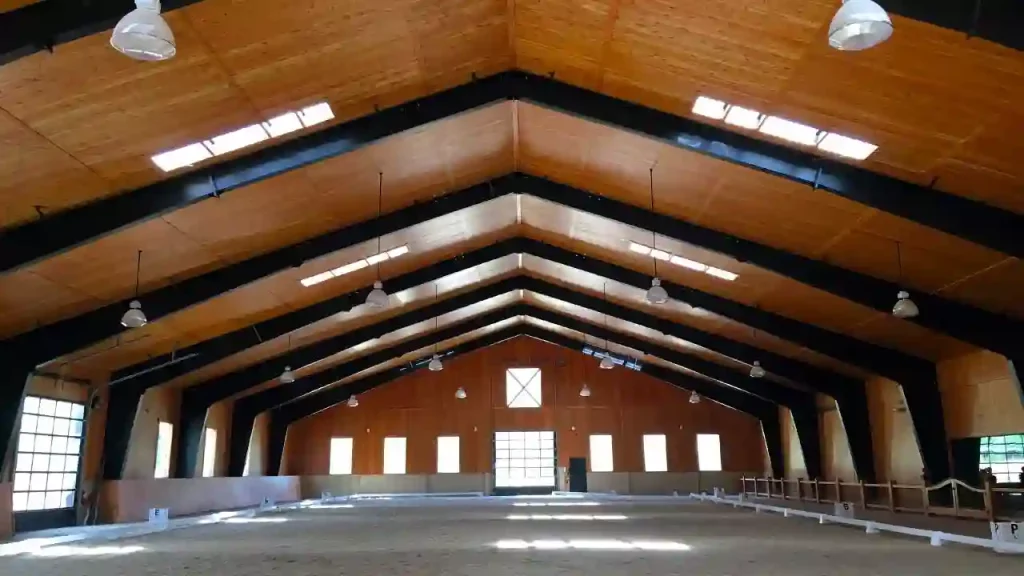


How to Do Snap Lock Standing Seam Metal Roof Installation
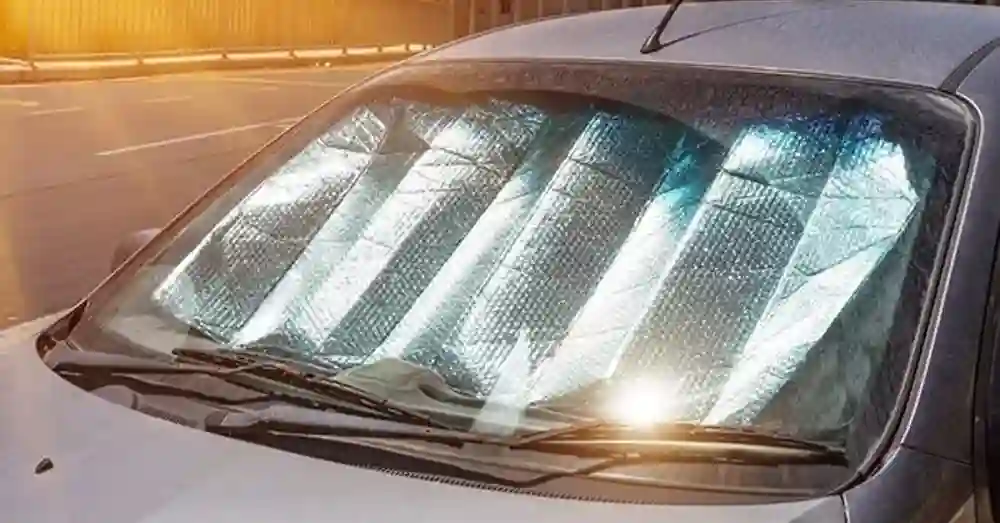
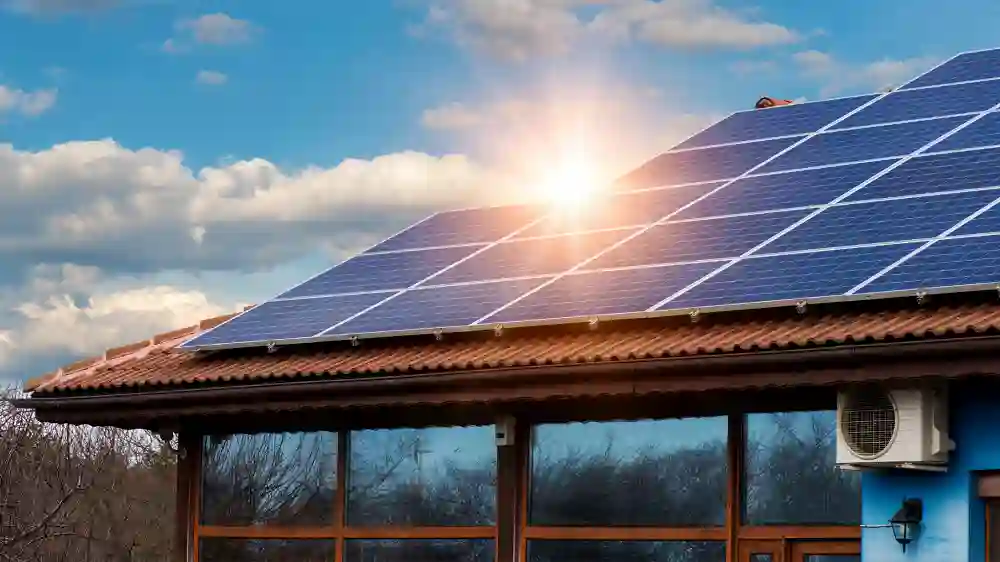
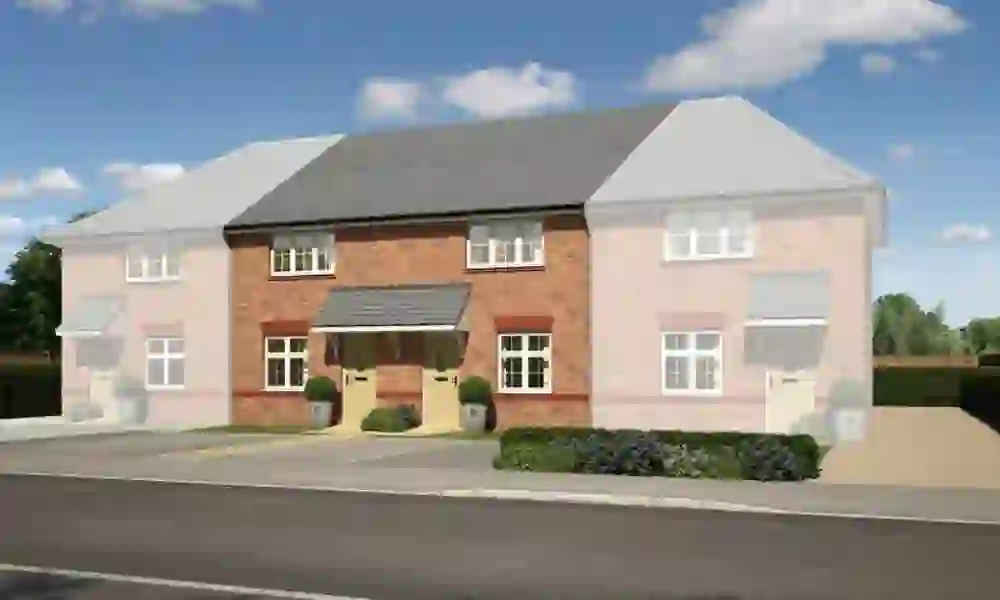
A snap lock standing seam metal roof offers a sleek appearance and exceptional performance. It can last decades when properly installed by a qualified contractor.
It is easy to install but requires a different process than a mechanically seamed panel. In this article, we will explain the installation process for snap lock panels.
Start With The Clips
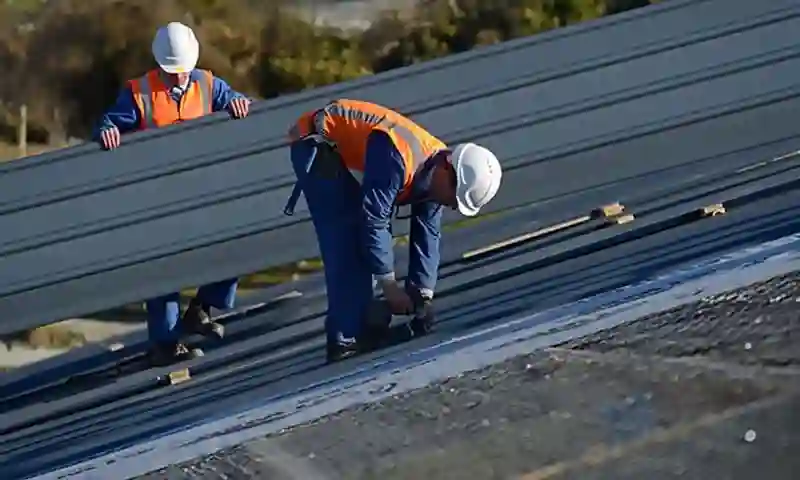
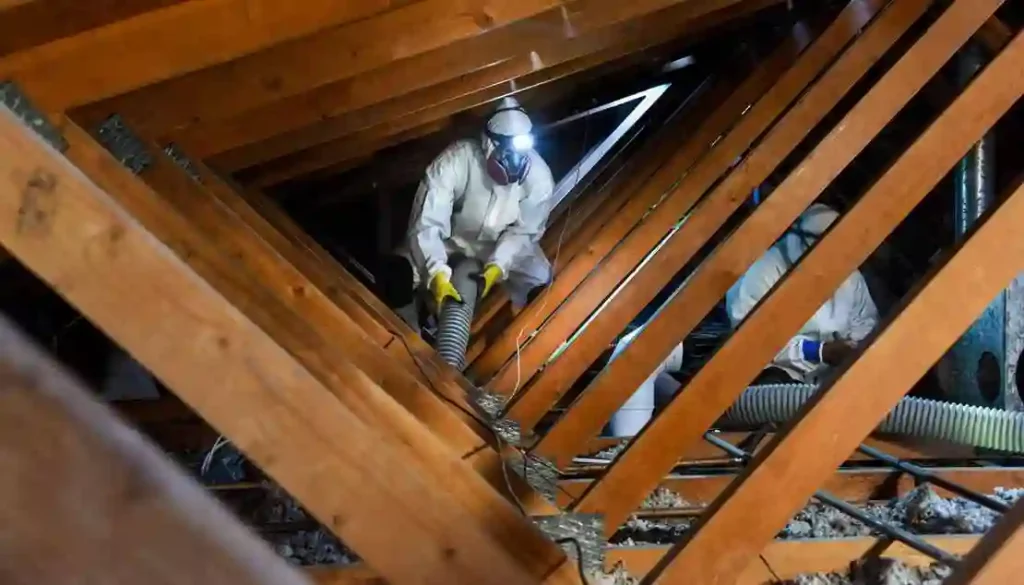
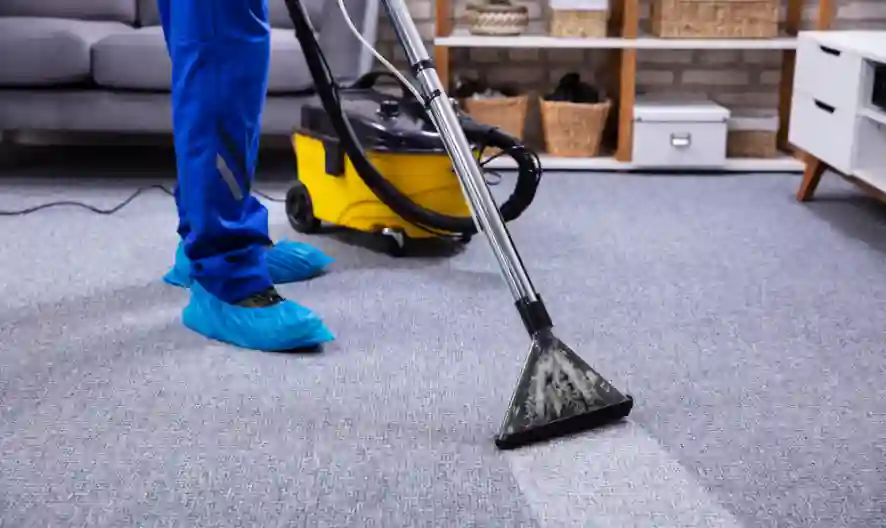
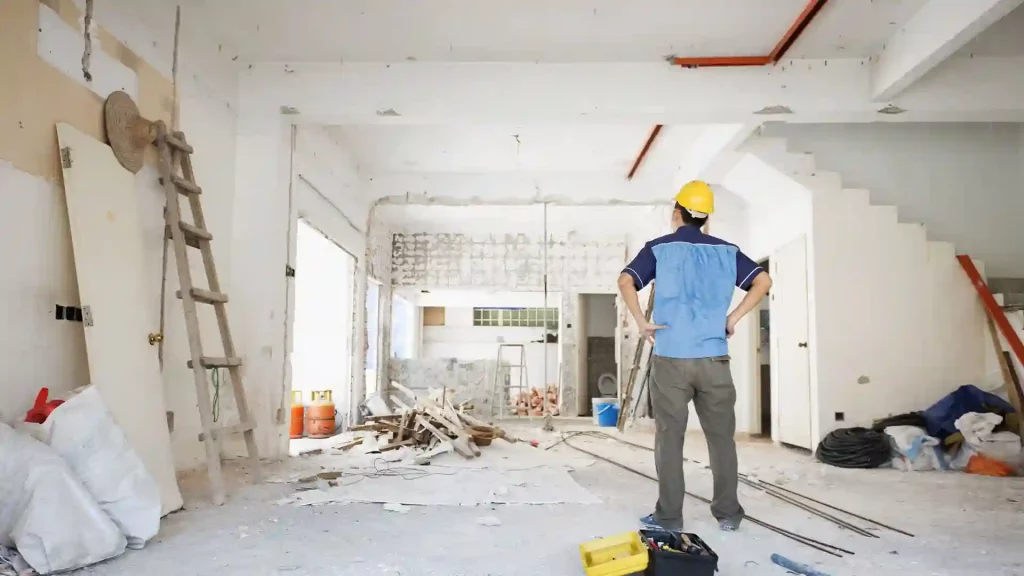
Before any new metal panels are installed, the roof needs to be prepped. This will involve tearing off the old roofing materials and cleaning the deck. Your roofing contractor will then go section by section to inspect your roof and make sure it is clean, smooth, and free of debris.
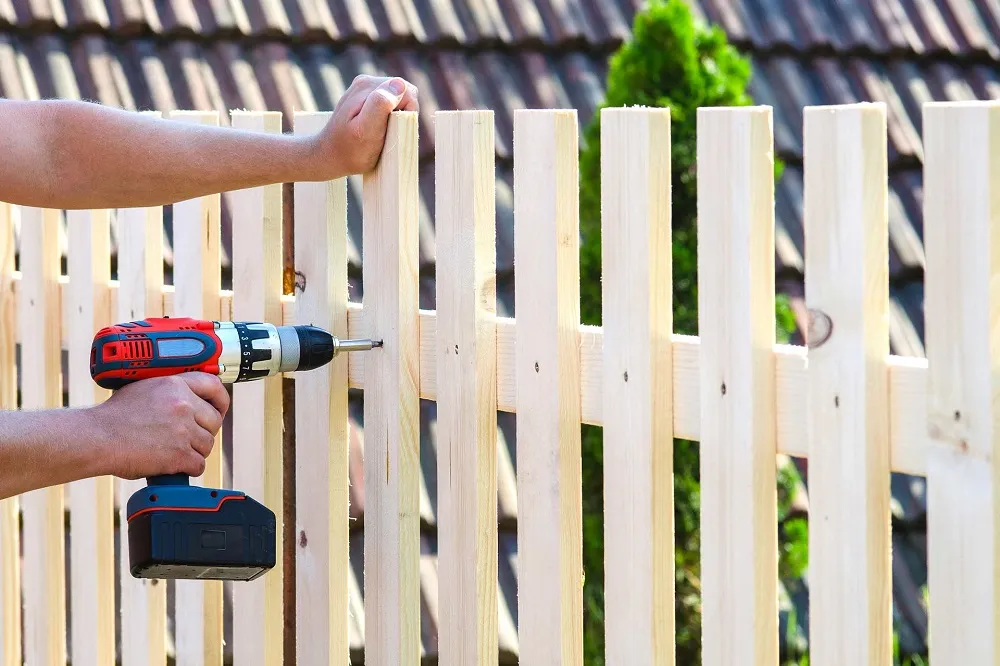
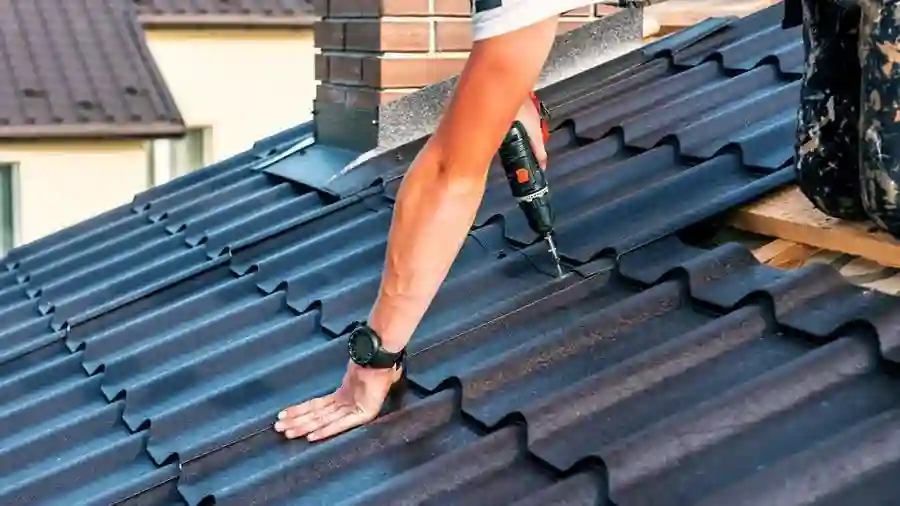
Once your roof is prepped, the first starter clips are installed. These clips are called lock strips, and they are placed at the eaves and rake edges of your roof. They are made of the same material as your metal panels, and they come in a variety of colors and gauges.
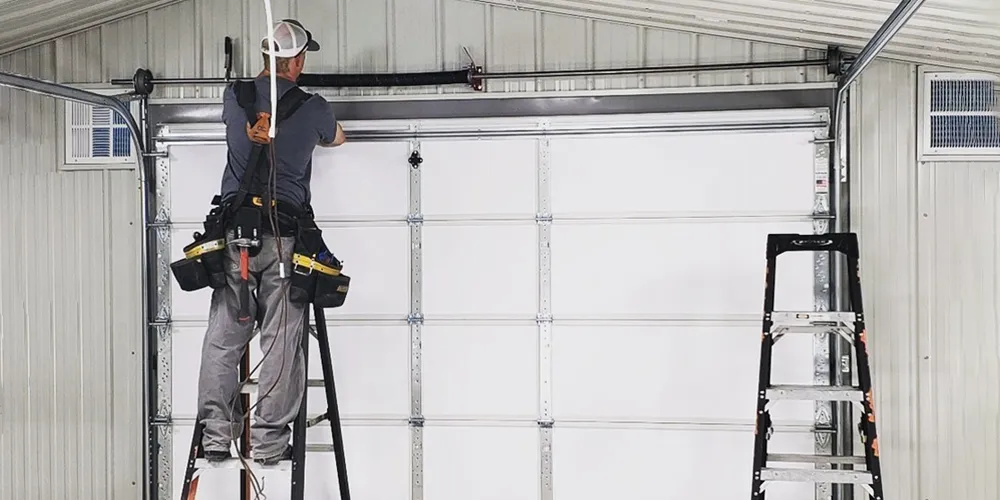
These clips fasten to the female leg of each panel, and the male leg snaps over them. When doing this, it is important to be precise and cut each clip properly. Use metal cutting snips to ensure you get a straight line across the panel’s length. Pro Tip: To save time, mark your snips 1″ from the tip to avoid having to measure and mark each time.
Once all of the starter clips are installed, the underlayment is then placed on the roof. This underlayment is usually a felt (15 lb, 30 lb, or synthetic) material used over the decking to provide additional protection. For metal roofs, this underlayment is a self-adhering, high heat, ice and water shield.
Install The Lock Strips
The next step in the installation process is to install your roof’s starter lock strips. These will be put on the eaves and rakes of your roof. They will be made from the same material and color as your metal panels. Once they are installed, you can begin installing your underlayment. The underlayment is a layer of protection that goes on top of your decking and prevents moisture from getting into your home. There are several different kinds of underlayment that can be used, but a preferred option for metal roofing is self-adhering high heat ice and water shield.
This type of ice and water shield is specifically designed to adhere to metal roofs and is more resistant to high heat than traditional felt varieties. It can also help protect against the condensation that would otherwise run down your roof’s fascia boards and lead to wood rot.
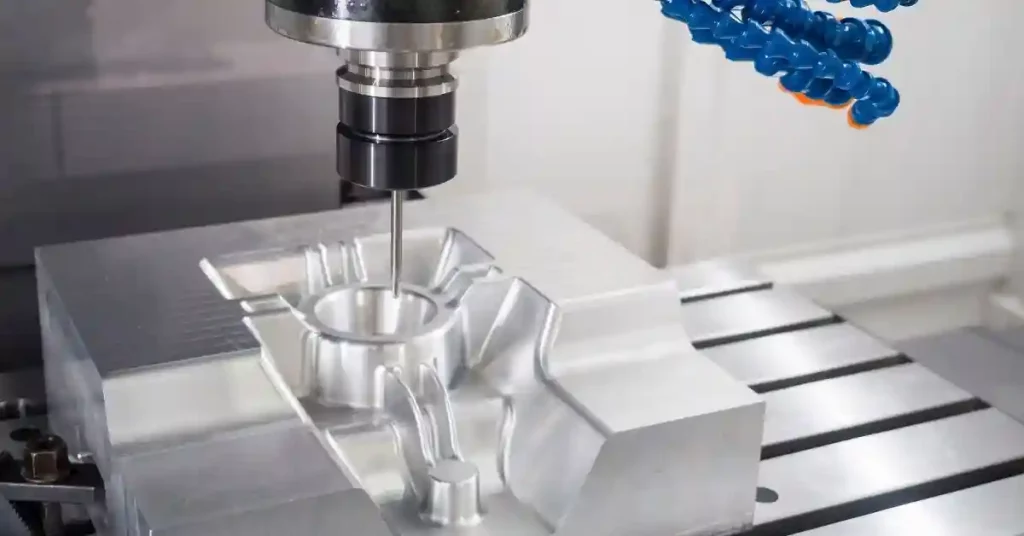
There are two types of paneling that can be used in a standing seam metal roof: Snap Lock Standing Seam and mechanical lock panels. Snap-lock panels are more commonly used by metal roofing contractors because they have rolled edges that snap together to create an attachment point to the roof. The other style, which is called a mechanical lock panel, has a flat face that needs to be bent by hand to make it stick to the roof. A mechanical lock panel is more weathertight than a snap-lock panel, making it better suited for cold climates.
Install The Underlayment
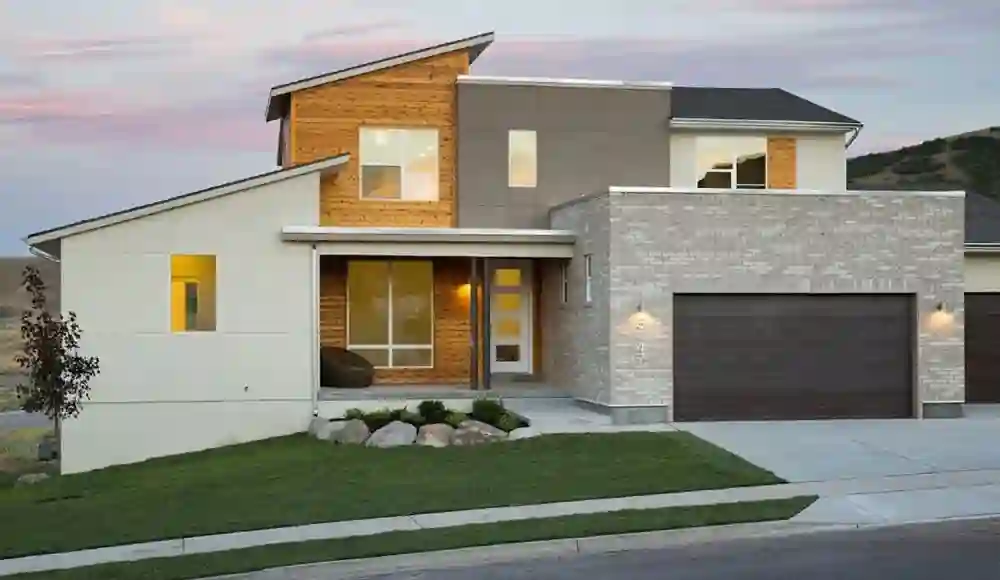
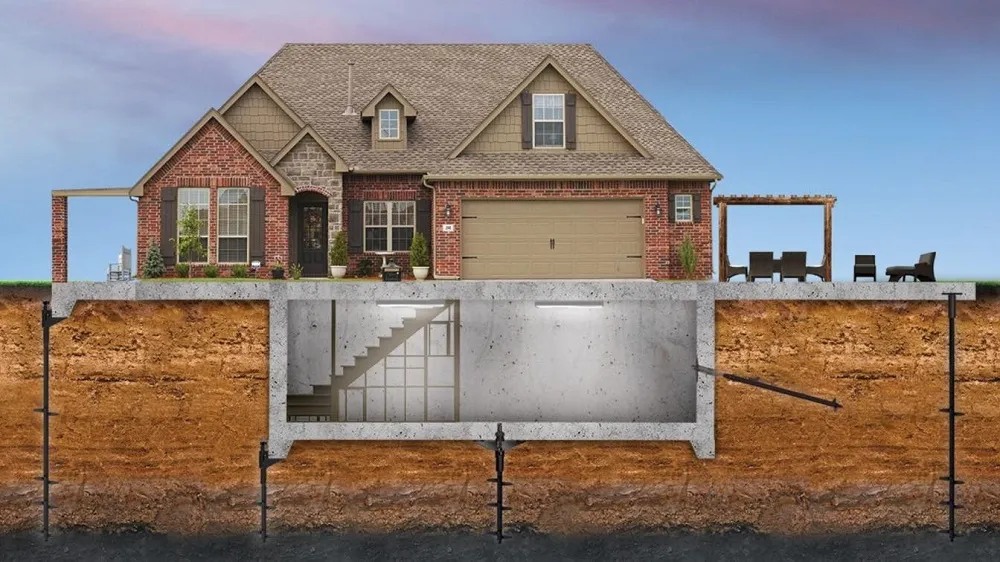
Metal roofing is a durable, stylish option for your home. It provides superior protection from harsh weather conditions and can last for many years. However, installing a metal roof requires more than just the panels you see above your head. The roof decking and the underlayment are also critical parts of your roof system.
The underlayment is usually a felt (15 lb, 30 lb, or synthetic) material used over the roof decking to provide additional protection. On a standing seam metal roof, it will be a self-adhering, high heat ice and water shield.
When you install the underlayment, it is important to overlap the previous layer by six to eight inches. This will help prevent leaks if a storm or other weather event occurs while you’re working on the roof.
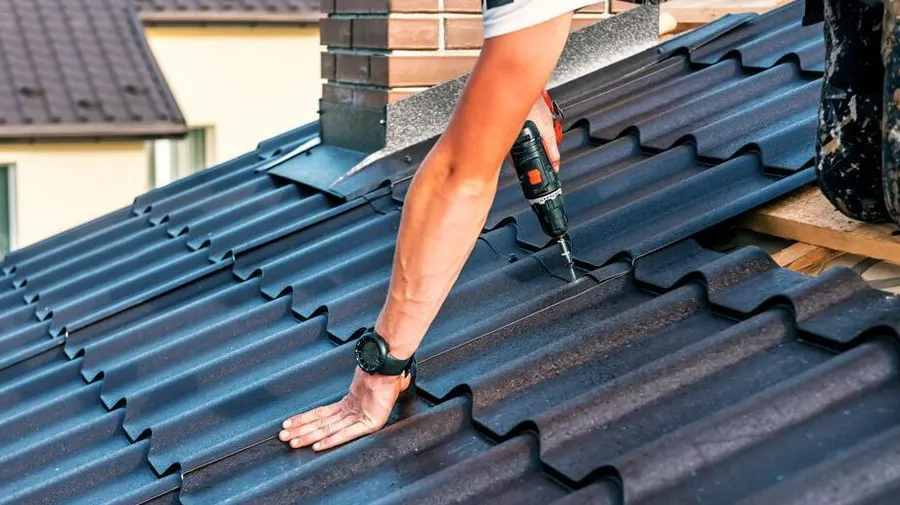
Once you have the underlayment installed, it’s time to start installing your metal panels. These are the metal panels that make up the majority of your standing seam roof. Marco Metals offers a wide selection of different metal panels to meet your specific needs, including 24 gauge pre-finished galvalume steel and Kynar coated (painted) galvalume steel.
Snap lock standing seam metal panels feature male and female edges that snap together over clips secured to the roof deck. This design is much easier to install than a traditional mechanically seamed panel and can help reduce your installation costs.
Install The Ridge Cap
Once you have the Z bars in place, it is time to install the ridge cap. This is the section of metal that sits at the peak of a roof and is normally the same material, color and style as the panels. It is important that this piece of metal be installed properly to ensure a long life for your new roof.
This is because it will help to prevent any water from getting under the panel seams and eventually rusting the steel that is used for these roofs. A typical ridge cap is formed into a “Z” shape and is taller than the ribs of the metal panels. This helps to keep rainwater from seeping up between the panels and the ridge cap, as it would otherwise have to go under the panel seams.
To begin installing the ridge cap, hook your first piece to one of the anchor clips that were placed on the gable trim, and then slide it up to the ridge. Center it as you would center the Z bar, and then screw down through the top of the clip to secure it. Be careful not to over tighten the screws. They need to be tight enough to compress the rubber gasket on the top, but not so tight that they can pull the ridge cap backward over it.