


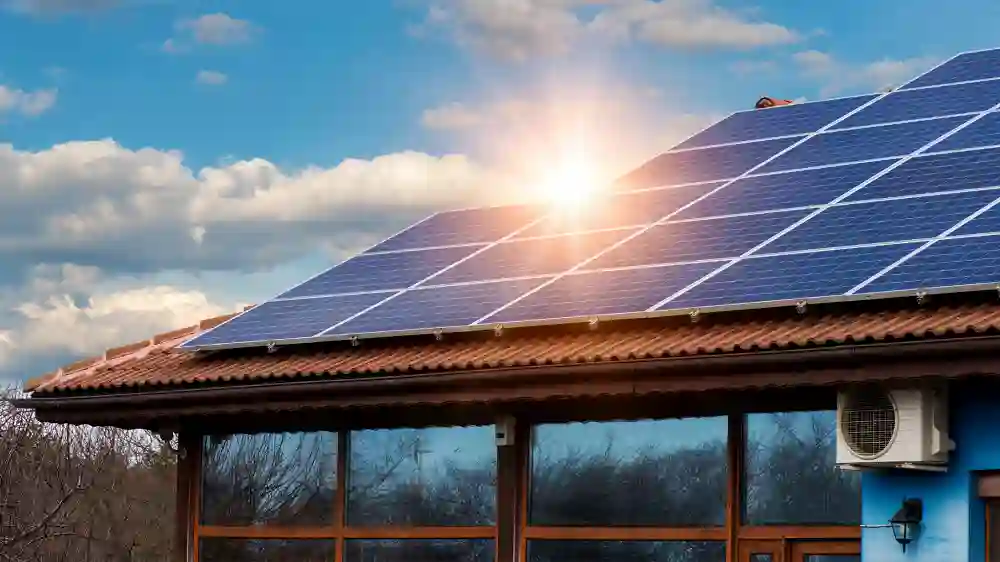


The Ultimate Guide to Solar Panel Installation: Step-by-Step Process

Solar energy has gained immense popularity over the past few decades as a clean and sustainable source of power. Not only does it help reduce your carbon footprint, but it can also save you money on your electricity bills in the long run. If you’re considering harnessing the power of the sun by installing solar panels on your property, this ultimate guide will walk you through the step-by-step process of solar panel installation.
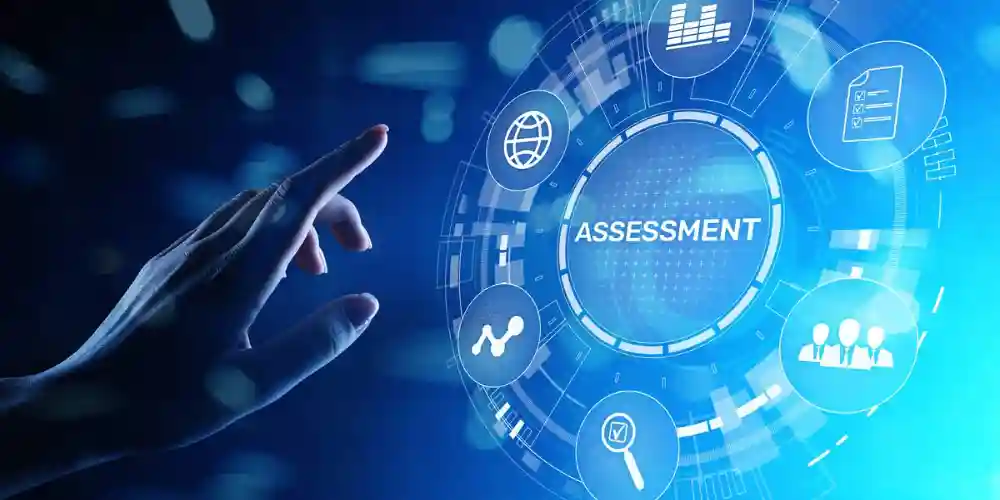
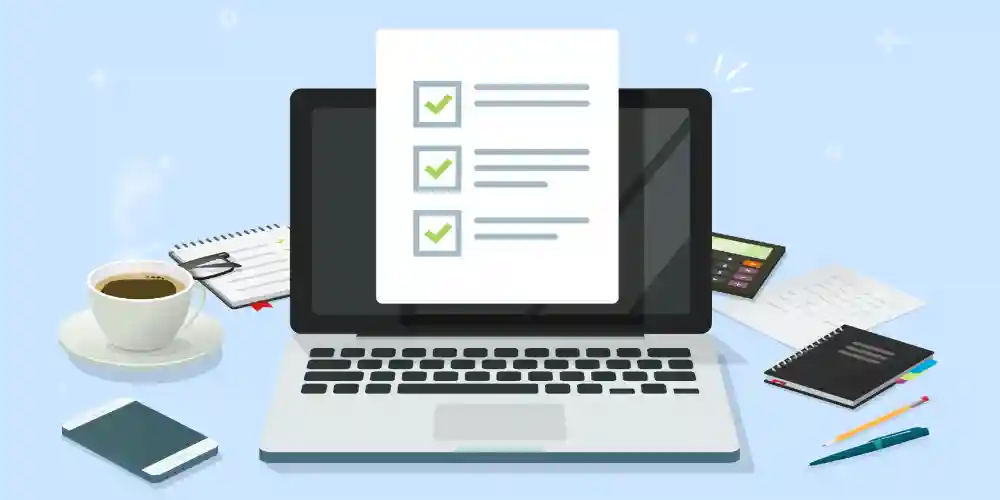
Step 1: Assess Your Energy Needs
Before diving into the world of solar panels, it’s essential to understand your energy consumption and needs. Analyze your past electricity bills to determine how much energy your household consumes on average. This information will help you determine the size and capacity of the solar panel system you’ll need. You can also consider any future energy needs, such as the addition of electric vehicles or home appliances, to ensure your solar system accommodates those changes.
Step 2: Conduct a Solar Site Assessment
A solar site assessment is a critical step in determining if your property is suitable for solar panel installation. Factors to consider include:
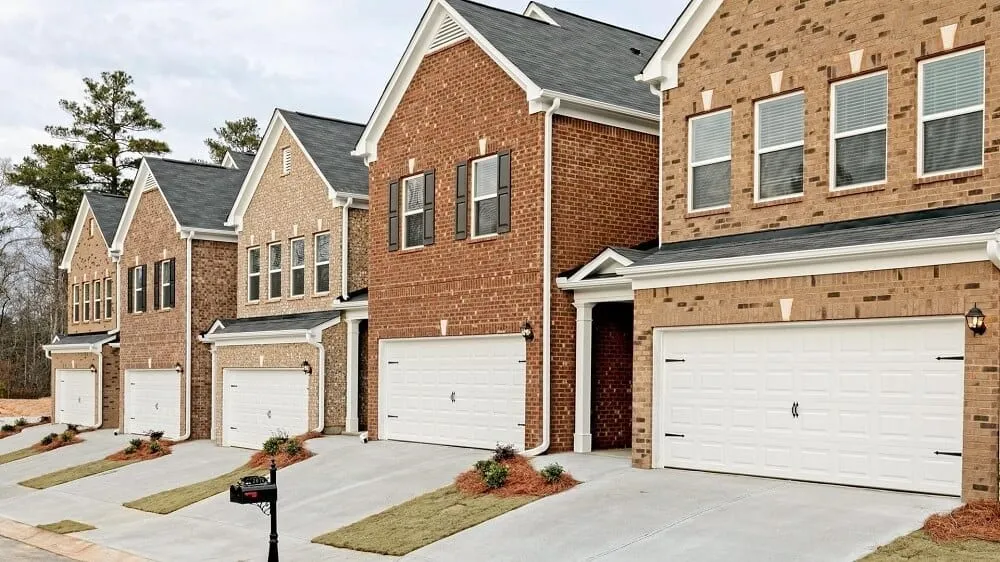
- Sunlight Exposure: Your location, shading from nearby trees or buildings, and the orientation and tilt of your roof will affect the amount of sunlight your solar panels can capture. Solar panels should ideally be installed on a roof that faces south, with minimal shading.
- Roof Condition: Ensure your roof is in good condition and can support the weight of the solar panels. If your roof needs repairs or replacement, it’s best to address those issues before installation.
- Local Regulations: Check local building codes, zoning regulations, and homeowners’ association rules to ensure compliance with solar panel installation. Some areas may have restrictions on solar panel placement or require permits.
- Incentives and Rebates: Research available incentives, tax credits, and rebates for solar panel installation in your area. These can significantly reduce the overall cost of your solar system.
- Energy Efficiency: Consider making your home more energy-efficient before installing solar panels. Improvements like adding insulation, sealing air leaks, and upgrading to energy-efficient appliances can reduce your overall energy consumption, making your solar system more cost-effective.
Step 3: Choose the Right Solar Panels and Inverters
Selecting the right solar panels and inverters is crucial for the efficiency and longevity of your solar system. Here are some key considerations:
- Solar Panel Types: There are various types of solar panels available, including monocrystalline, polycrystalline, and thin-film. Monocrystalline panels tend to be more efficient and space-efficient but can be more expensive.
- Inverter Type: Inverters convert the direct current (DC) generated by solar panels into usable alternating current (AC) for your home. Choose between string inverters, microinverters, and power optimizers. Microinverters and power optimizers can improve panel-level performance and are ideal for systems with shading issues.
- Warranty and Efficiency: Pay attention to the warranty offered by the manufacturer and the efficiency rating of the panels and inverters. High-quality equipment with longer warranties may have a higher upfront cost but can provide better long-term returns.
- Compatibility: Ensure that the selected panels and inverters are compatible with each other and are appropriate for your specific installation needs.
Step 4: Obtain Necessary Permits and Approvals
Before starting the installation process, you’ll need to obtain the required permits and approvals. This step involves:
- Local Building Permits: Contact your local building department to obtain the necessary permits for solar panel installation. Your installer may assist you in this process.
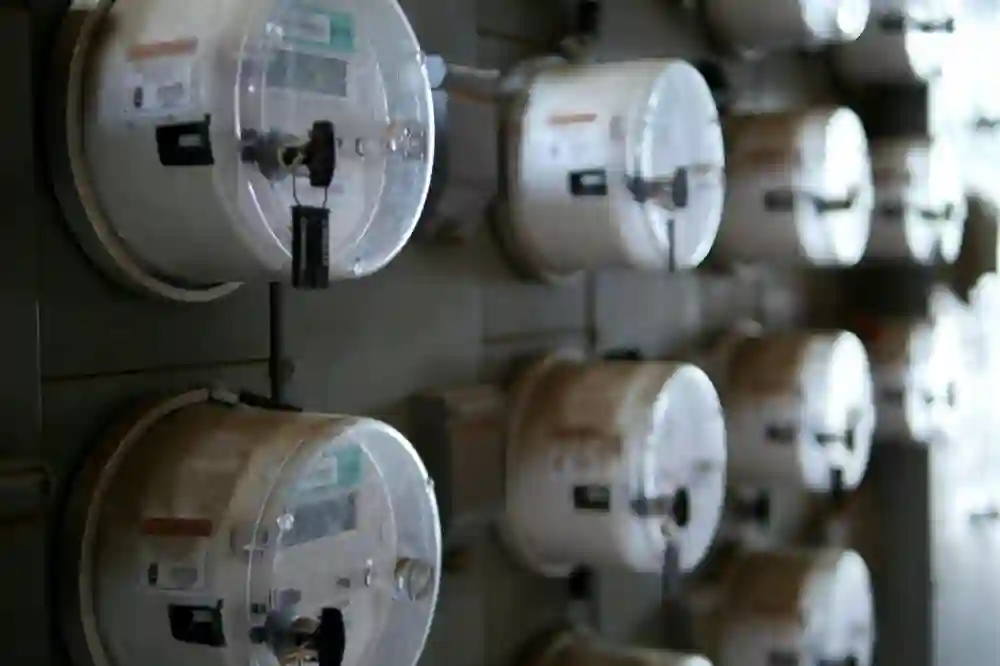
- Utility Approval: Notify your utility company about your intent to connect your solar system to the grid. They will typically inspect and approve your system before allowing it to be connected.
- Interconnection Agreement: Work with your utility company to establish an interconnection agreement, which outlines how your solar system will interact with the grid and what compensation or credits you may receive for excess energy production.
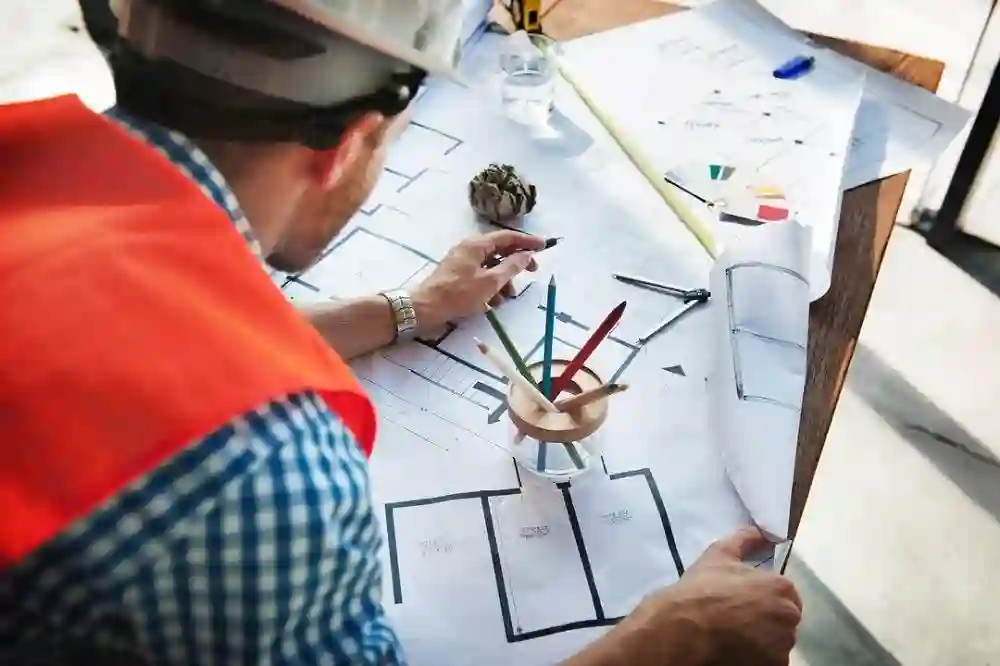
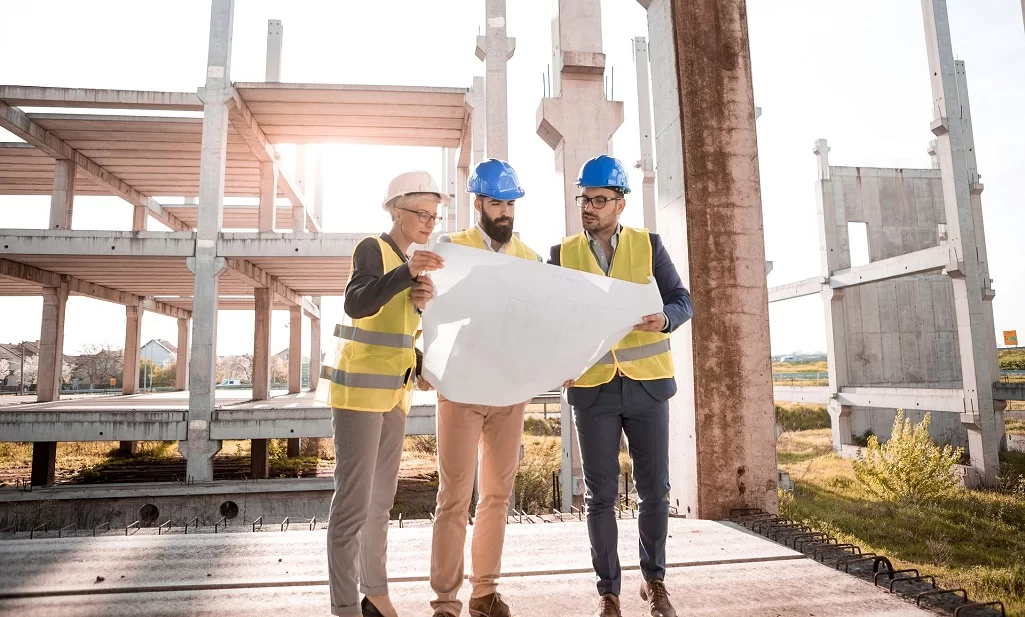
Step 5: Hire a Professional Installer
Solar panel installation is a complex process that requires expertise and experience. It’s highly recommended to hire a professional solar installer to ensure the job is done safely and efficiently. When selecting an installer, consider the following factors:
- Credentials and Experience: Verify that the installer is licensed, insured, and has a track record of successful installations. Ask for references and check online reviews.
- Cost and Financing Options: Get multiple quotes from different installers and compare costs. Inquire about financing options, as some companies offer solar leases or power purchase agreements (PPAs) that allow you to install solar panels with little to no upfront cost.
- Warranty and Maintenance: Understand the warranties offered by the installer for both the equipment and workmanship. Additionally, inquire about maintenance services and any associated costs.
- Timeline: Discuss the estimated timeline for installation and ask for a clear project schedule.
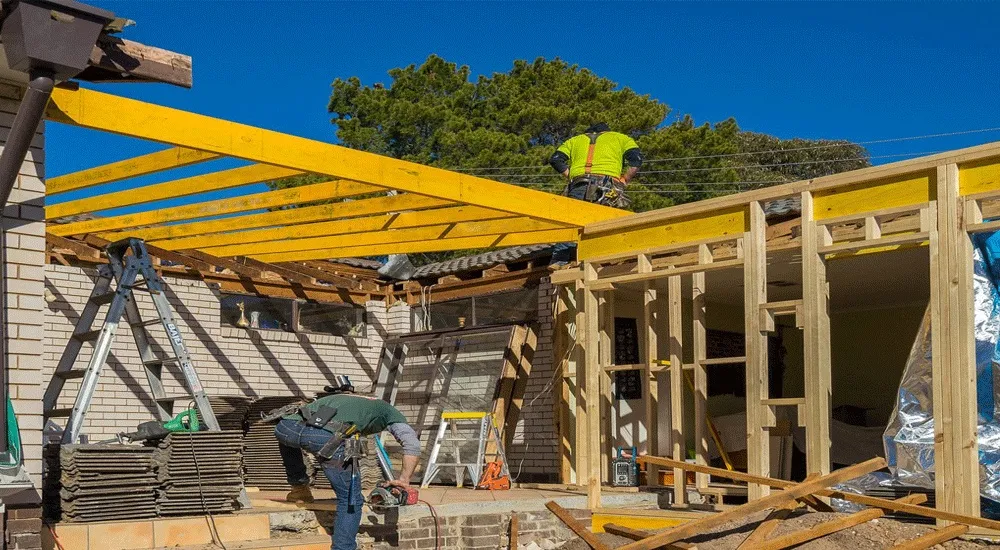
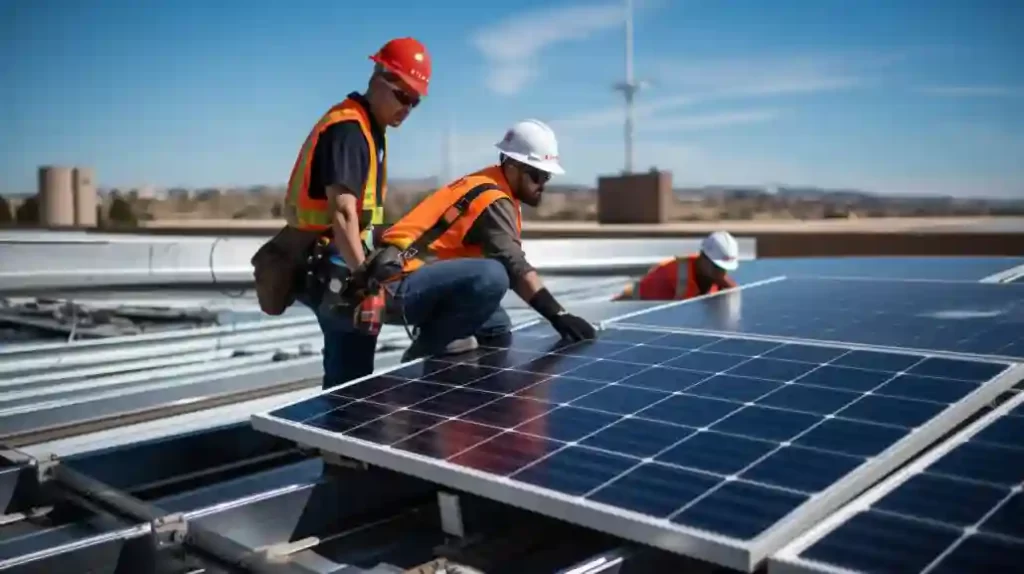
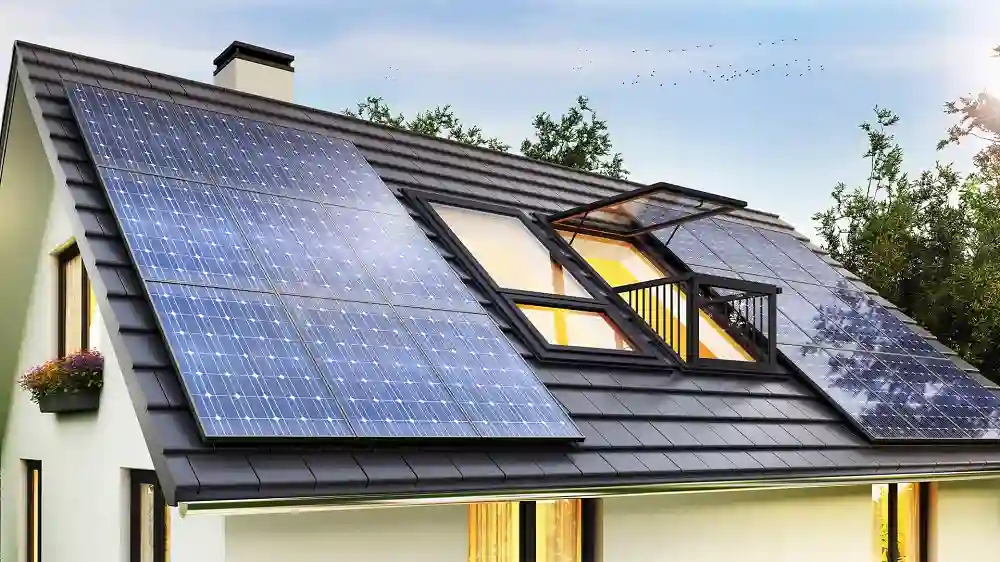
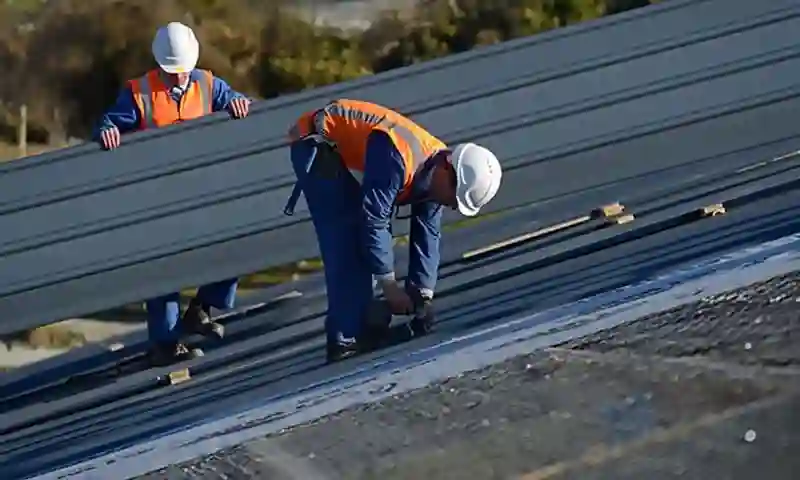
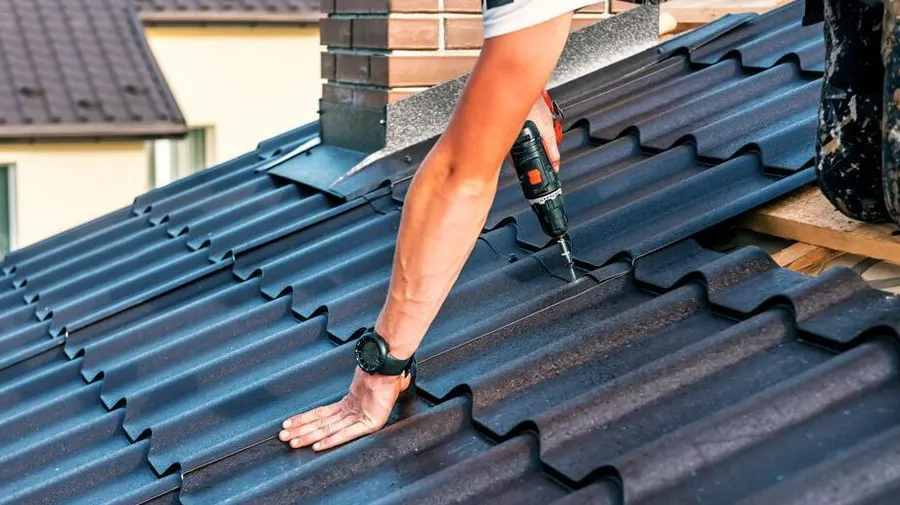
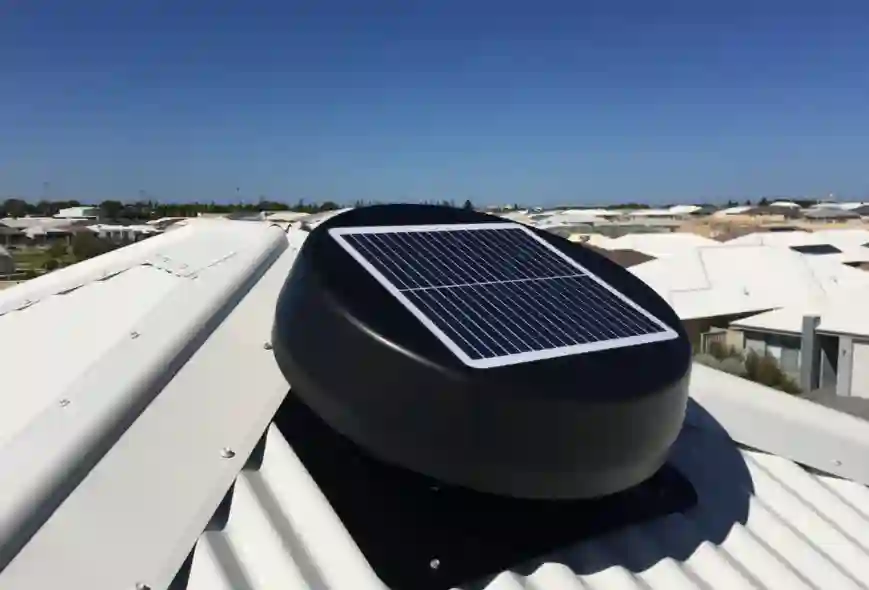
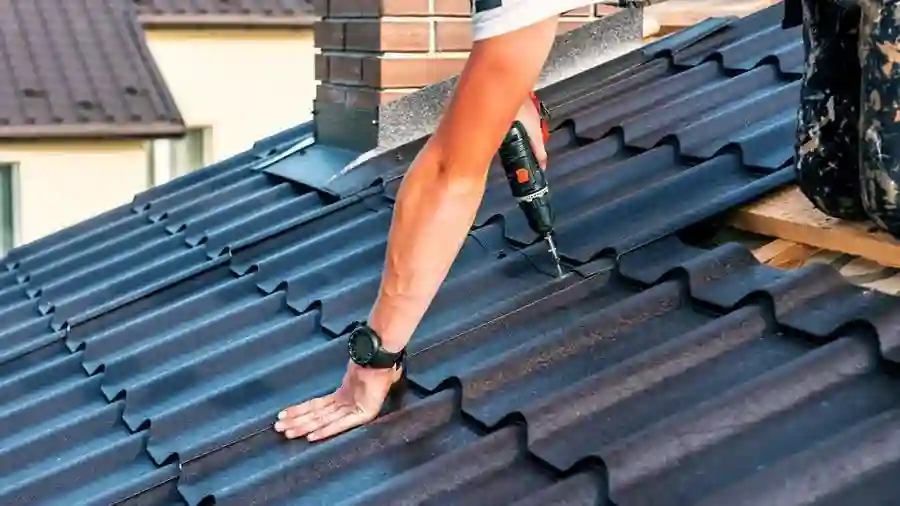
Step 6: Solar Panel Installation
Once you’ve hired a professional installer, the actual installation process can begin. Here’s an overview of what to expect during installation:
- Roof Preparation: If necessary, your installer will prepare your roof by ensuring it’s structurally sound and waterproof. This may involve repairs or reinforcements.
- Mounting and Racking: The solar panels are mounted onto racks or brackets, which are securely attached to your roof. The angle and orientation of the panels are optimized to capture the most sunlight.
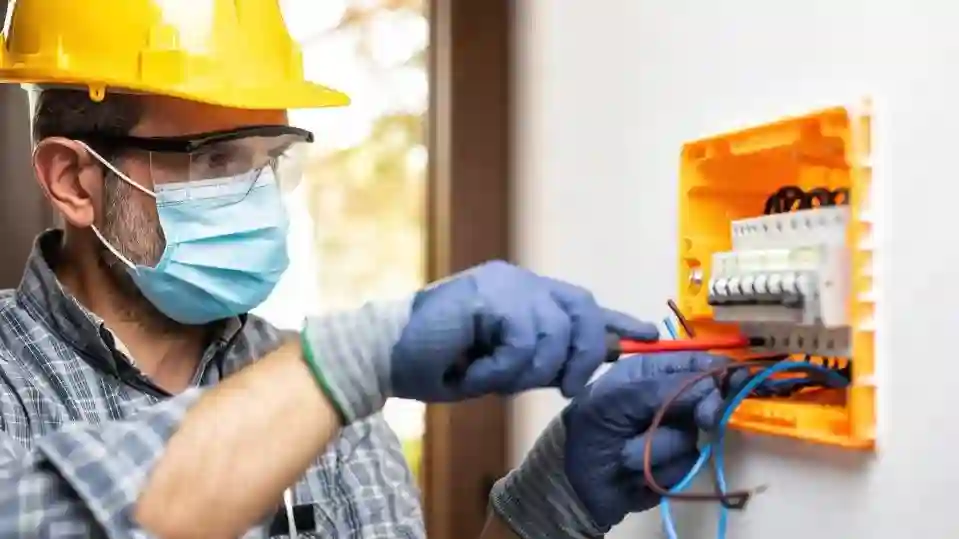
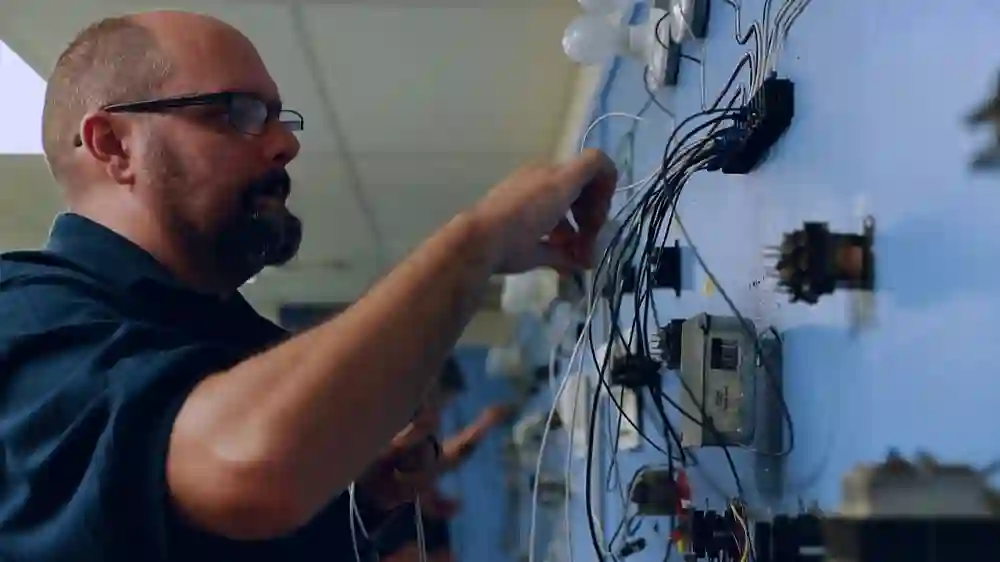
- Wiring and Inverter Installation: Wiring is installed to connect the solar panels to the inverter(s), which will convert DC electricity to AC electricity for use in your home.
- Connection to the Grid: Once your solar system is installed, it will be connected to the electrical grid. This step may require coordination with your utility company.
- Testing and Inspection: The entire system will be thoroughly tested to ensure it’s functioning correctly and safely. Inspections may be required as well.
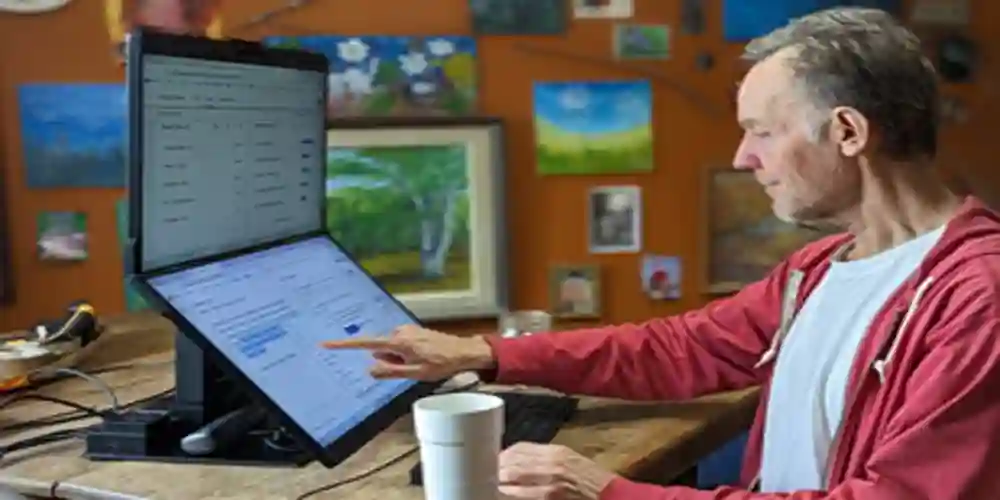
Step 7: Monitor and Maintain Your System
After your solar panels are installed, it’s essential to monitor and maintain your system to maximize its performance and lifespan. Here are some maintenance tips:
- Regular Cleaning: Keep your solar panels clean to ensure they receive maximum sunlight. In most cases, rain will wash away dirt and dust, but periodic cleaning may be necessary in areas with heavy pollution or dust.
- Monitoring Energy Production: Use monitoring tools provided by your installer or third-party applications to track your solar system’s energy production and detect any issues promptly.
- Trim Trees and Vegetation: If nearby trees or vegetation grow and start shading your solar panels, trim them to maintain optimal sunlight exposure.
- Professional Inspections: Consider scheduling annual or biannual inspections by a professional to identify and address any maintenance or repair needs.
Step 8: Enjoy the Benefits of Solar Energy
Once your solar panel system is up and running, you can start enjoying the numerous benefits of harnessing solar energy. Some of the advantages include:
- Reduced Electricity Bills: Solar panels can significantly reduce or even eliminate your monthly electricity bills, depending on the size of your system and your energy consumption.
- Environmental Benefits: By using clean and renewable energy, you’ll reduce your carbon footprint and contribute to a more sustainable future.
- Energy Independence: Solar panels provide a degree of energy independence, allowing you to generate your electricity and reduce reliance on fossil fuels.
- Financial Incentives: Take advantage of any tax credits, incentives, and rebates available in your area to lower the overall cost of your solar panel installation.
- Increased Home Value: Solar panels can increase the resale value of your home, making it more attractive to potential buyers.
Conclusion
Installing solar panels is a rewarding and environmentally responsible investment. By following this step-by-step guide, you can navigate the process with confidence and ensure that your solar panel installation is a successful and sustainable addition to your home. Embrace the power of the sun, reduce your energy bills, and contribute to a cleaner, greener future with solar energy.